
The fastest way to transfer fonts from an iPhone or iPad to a Mac is to send the font file.
Open the Files app. Find the font file. Tap Share. Send it to your Mac with AirDrop. Then open the font on your Mac and install it with Font Book.
That works well for one or two fonts.
For a full font set, use a ZIP file. It keeps the fonts together. It also makes the Mac install step easier.
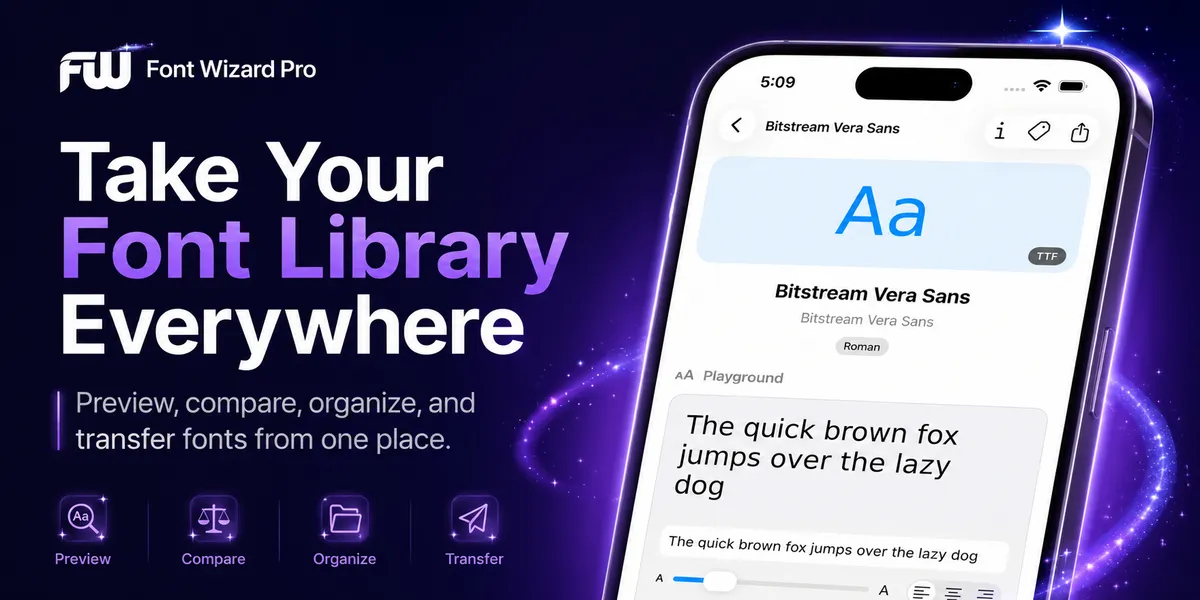
For a cleaner font workflow on iPhone and iPad before you transfer, get Font Wizard Pro on the App Store. It helps you import, preview, compare, tag, export, and transfer OTF and TTF font files to your Mac when supported.
Summary
Send the font file from iPhone or iPad to your Mac with AirDrop, iCloud Drive, a ZIP export, or Wi-Fi transfer. Open the OTF or TTF file on your Mac and install it with Font Book. Transfer only moves the file; Font Book makes the font ready to use.
To transfer fonts from iPhone or iPad to Mac:
- Find the font file on your iPhone or iPad.
- Make sure it is an OTF or TTF file.
- Send it to your Mac with AirDrop, iCloud Drive, ZIP export, or Wi-Fi transfer.
- Open the file on your Mac.
- Install it with Font Book.
- Restart your design app if the font does not show up.
Moving a font file is not the same as installing it.
Transfer moves the file to your Mac. Font Book makes the font ready to use.
Before you transfer the font
First, check the file type.
Most fonts use one of these formats:
.otf.ttf.ttc.zip
OTF and TTF files are the best fit for most Mac font installs.
A ZIP file is not a font. It is a packed folder. You can send the ZIP to your Mac, open it, then install the font files inside.
Also check the font license. Some fonts let you use them on all your own devices. Some do not. Some limit use by person, device, app, client, or project.
Fonts are software. Only copy, install, or share fonts when you have the right to do so.
Method 1: Transfer fonts with AirDrop
AirDrop is best for one font or a small set.
On iPhone or iPad
- Open the Files app.
- Find the font file.
- Touch and hold the file.
- Tap Share.
- Tap AirDrop.
- Choose your Mac.
On Mac
- Accept the file.
- Open the font file.
- Font Book should open.
- Click Install.
- Open the app where you want to use the font.
If the font does not show up, quit the app and open it again.
Use AirDrop when
- You need one font.
- You know where the file is.
- You do not need a backup.
- You do not need a project set.
- You want a fast one-time transfer.
Do not use AirDrop when
- Your fonts live in many folders.
- You need to move a full brand kit.
- You need to compare fonts first.
- You need to send a clean set to your Mac.
- You need to keep fonts grouped by project.
AirDrop moves files. It does not manage your font library.
Method 2: Transfer fonts with iCloud Drive
iCloud Drive is useful when you want the same font file to appear on iPhone, iPad, and Mac.
On iPhone or iPad
- Open the Files app.
- Move the font file into iCloud Drive.
- Use a clear folder name.
Good folder names include:
FontsBrand FontsClient FontsWebsite FontsLogo Fonts
On Mac
- Open Finder.
- Click iCloud Drive.
- Open the font folder.
- Double-click the font file.
- Install it with Font Book.
Use iCloud Drive when
- You want simple file sync.
- You want a shared folder across Apple devices.
- You have a small font set.
- You know which files you need.
Do not use iCloud Drive when
- You need font previews.
- You need tags.
- You need project groups.
- You need to compare styles.
- You need to export a clean ZIP file.
iCloud Drive stores files. It does not help you choose the right font.
Method 3: Transfer fonts with a ZIP file
A ZIP file is best when you need to move more than one font.
Use a ZIP file for:
- Brand font kits
- Client font sets
- Logo fonts
- Website fonts
- App fonts
- Social post fonts
- Presentation fonts
- Backup copies
On iPhone or iPad
- Select the font files.
- Compress them into a ZIP file.
- Send the ZIP to your Mac.
- Use AirDrop, iCloud Drive, email, or Wi-Fi transfer.
On Mac
- Open the ZIP file.
- Review the files inside.
- Install the OTF or TTF files with Font Book.
- Keep the ZIP as a backup if your license allows it.
A ZIP file keeps related fonts together.
That matters when a project has many styles, such as regular, italic, bold, light, medium, and black.
Method 4: Transfer fonts with a font manager
Manual transfer works for a few files.
It gets messy when your font library grows.
Soon, your fonts may live in too many places:
- Downloads
- Files
- iCloud Drive
- Old project folders
- Client folders
- Web downloads
- ZIP files
You may remember how a font looked but not what it was called. You may know you saved it but not where you put it. You may download the same font again.
A font manager helps before the transfer starts.
Font Wizard Pro on the App Store lets you keep a font library on iPhone or iPad. You can import, preview, compare, tag, group, export, and transfer fonts to your Mac.
Use it when your font problem is no longer just “send this file.”
Use it when the real problem is “find the right font and send the right set.”
Why Font Wizard Pro helps
Font file names can be hard to read.
You may see names like:
Font-Regular.otfFont-Bold.ttfdownload-1.otfdemo-font.zipbrand-final-final.ttf
A file name does not show style, mood, weight, or spacing.
It also does not show the client, brand, or project.
Font Wizard Pro helps you organize the font before you move it.
You can:
- Import OTF and TTF font files.
- Browse the web for fonts.
- Download font files.
- Preview each typeface.
- Compare fonts with your own text.
- Tag fonts by style, client, brand, or use.
- Build project sets.
- Export fonts as a ZIP file.
- Transfer fonts to your Mac over Wi-Fi.
That means you can send a clean set, not a messy folder. When a big event drives a wave of design work, that head start matters. See our World Cup font guide.
View this post by @stalinkay on X
AirDrop vs Font Wizard Pro
Use AirDrop when:
- You only need one font.
- The font file is easy to find.
- You do not need tags.
- You do not need a project set.
- You only need a fast transfer.
Use Font Wizard Pro when:
- You manage fonts often.
- You download fonts on iPhone or iPad.
- You need to preview fonts first.
- You need to compare typefaces.
- You need to group fonts by project.
- You want to export a ZIP file.
- You want a local Wi-Fi transfer option.
- You are tired of guessing from file names.
AirDrop sends a file.
Font Wizard Pro helps you manage the font before you send it.
View this post by @stalinkay on Threads
How to install the font on Mac
After the font reaches your Mac, install it with Font Book.
- Open the font file on your Mac.
- Font Book should show a preview.
- Click Install.
- Read any warning Font Book shows.
- Open your design app.
- Check the font menu.
You can also drag font files into Font Book.
Install only the fonts you need. A clean font list is easier to use than a crowded one.
How to check if the font installed
After you install the font:
- Open Font Book.
- Search for the font name.
- Select the font.
- Check that it is active.
- Open the app where you want to use it.
Some apps need a restart before new fonts appear.
Some apps also have their own font rules. A font can work on your Mac but still not show in every app.
What to do if the font does not show up
This is a common font problem.
Try these fixes.
1. Restart the app
Quit the app. Open it again.
Many apps only load new fonts when they start.
2. Check Font Book
Open Font Book and search for the font.
If the font is not there, you moved the file but did not install it.
3. Open the ZIP file
If the font came in a ZIP file, open the ZIP first.
Then install the OTF or TTF files inside.
4. Check for duplicates
Two versions of the same font can cause problems.
Remove the version you do not need. Be careful with system fonts.
5. Validate the font
Font Book can check fonts for problems.
If the file is damaged, the font may fail to install or may not work well.
6. Check app support
Not every app handles custom fonts the same way.
Test the font in another app. If it works there, the issue may be with the first app.
7. Check the license
Some fonts limit where you can use them.
If you bought the font, read the license before you install it on more devices or share it with a client.
What if the font is installed on iPhone or iPad but you cannot find the file?
This can happen.
A font may be installed through an app or a configuration profile. Your iPhone or iPad may show the font as installed, but the original OTF or TTF file may not be easy to find.
Try this:
- Open the app you used to install the font.
- Look for export, share, backup, or file options.
- Check the Files app.
- Search iCloud Drive.
- Search On My iPhone or On My iPad.
- Look for the original ZIP file.
- Download the font again from the source.
For future work, keep the font file in one clear place. A ZIP backup can help if your license allows it.
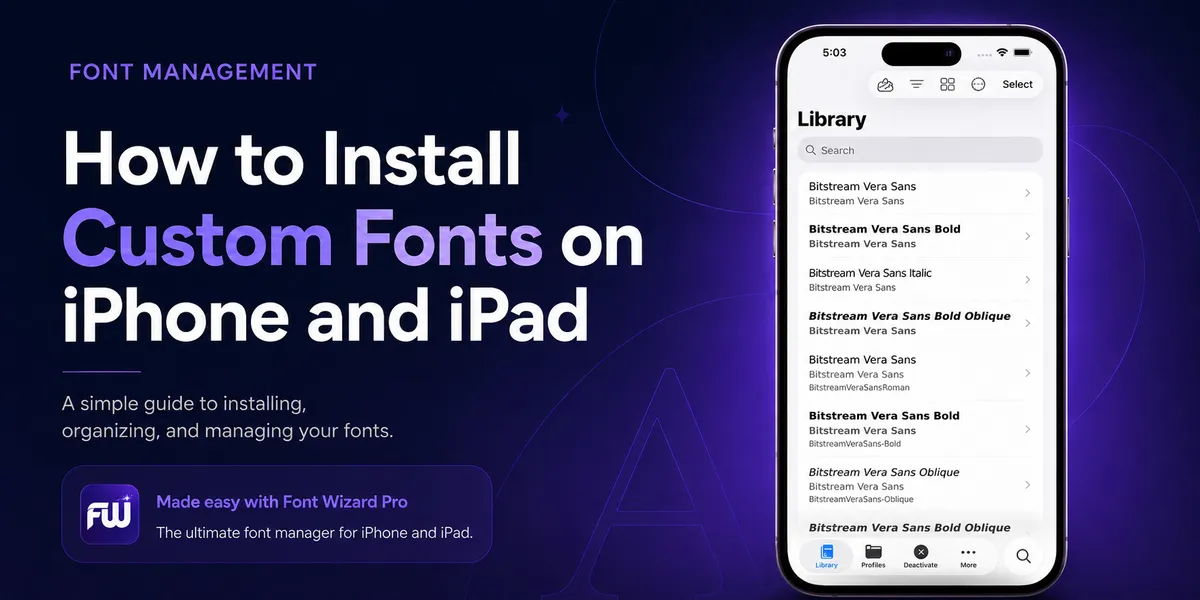
For more on installing fonts on iPhone and iPad, see How to Install Custom Fonts on iPhone and iPad.
Can you transfer fonts installed with a configuration profile?
Sometimes.
A configuration profile can install a font on iPhone, iPad, or Mac. Schools, teams, font apps, and managed devices may use this method.
But a profile is not the same as a font folder.
To move the font to your Mac, you still need the font file. Look for an OTF or TTF file from the same source.
If you do not have the file, go back to the font provider.
Font Wizard Pro helps here because it keeps font files in a clear library. That makes export, backup, and transfer easier later.
Best workflow for designers
Use this workflow:
- Import or download the font on iPhone or iPad.
- Preview it with real text.
- Compare it with other fonts.
- Tag it by style or use.
- Add it to a project set.
- Export the set as a ZIP.
- Transfer it to your Mac.
- Install it with Font Book.
- Use it in your design app.
This keeps your font work clean.
It also helps you avoid downloading the same font again.
Best workflow for brand font kits
Keep each brand in its own project set.
A brand font set may include:
- Sans font
- Serif font
- Display font
- Mono font
- Logo font
- Desktop fonts
- Web fonts
- License notes
- Readme file
Then export the set as a ZIP.
This gives you a clean package for your Mac.
Best workflow for client work
Do not mix all client fonts in one folder.
Create a project set for each client.
Use tags like:
- Client name
- Logo
- Website
- Social
- Paid font
- Free font
- License check
This saves time later.
It also lowers risk. You do not want to use the wrong font because it sat next to a similar file.
Common mistakes to avoid
Mistake 1: Sending the font but not installing it
A transferred file is not ready yet.
Install it with Font Book.
Mistake 2: Forgetting to open the ZIP file
A ZIP file must be opened first.
Then install the font files inside.
Mistake 3: Expecting every app to show every font
Apps handle fonts in different ways.
If a font shows in Font Book but not in one app, test it in another app.
Mistake 4: Keeping fonts in random folders
Random folders waste time.
Use clear folders, tags, project sets, or a font manager.
Mistake 5: Ignoring font licenses
Fonts have rules.
Only move, install, or share fonts when the license allows it.
Recommended setup
For a clean font workflow, use:
- AirDrop for one-off transfers.
- iCloud Drive for basic file sync.
- ZIP files for font sets.
- Font Book for Mac install and checks.
- Font Wizard Pro for previews, tags, projects, ZIP export, and Wi-Fi transfer.
This gives you a clear path from iPhone or iPad to Mac.
Who should use Font Wizard Pro?
Font Wizard Pro is a good fit for:
- Designers who build logo, poster, app, and web font sets.
- Marketers who manage campaign and brand fonts.
- Developers who test app and site typefaces.
- Content creators who choose fonts for titles and thumbnails.
- Students who move fonts between school projects and a Mac.
- Small business owners who need brand fonts close.
- Writers and makers who test how words look before they choose a font.
It is not for changing the iPhone system font.
It is not a fix for broken font files.
It is not a way to skip font license rules.
It is for keeping your font files clean, useful, and ready to move.
Try a cleaner way to move fonts
If you only need to send one font, use AirDrop.
If you manage fonts often, use a tool that keeps your library clean before you transfer it.
Download Font Wizard Pro on the App Store and use your iPhone or iPad as a portable font library for your Mac workflow.
Save the font. Preview it. Tag it. Put it in a project. Export it. Transfer it. Install it on your Mac.
FAQ
How do I transfer a font from iPhone to Mac?
Find the font file in the Files app. Tap Share. Send it to your Mac with AirDrop. Then open the font on your Mac and install it with Font Book.
How do I transfer a font from iPad to Mac?
Open Files on your iPad. Find the OTF or TTF file. Send it with AirDrop, iCloud Drive, ZIP export, or Wi-Fi transfer. Then install it on your Mac with Font Book.
Can I AirDrop fonts to my Mac?
Yes. You can AirDrop font files to your Mac. After the file arrives, install it with Font Book.
Can I move a full font library from iPad to Mac?
Yes. The cleanest way is to export the font library or project set as a ZIP file. Move the ZIP to your Mac. Open it. Then install the fonts you need.
What font files work on Mac?
Mac works with many common font files, including OTF and TTF. If your font is inside a ZIP file, open the ZIP first.
Why does my font not show up after I install it?
Restart the app. Then check Font Book. The font may not be installed, may be disabled, may be a duplicate, may be damaged, or may not work in that app.
Can I transfer fonts installed on iPad through a profile?
You need the original font file for a clean transfer. A profile can install a font, but it may not give you an OTF or TTF file to move.
Does transferring a font install it on Mac?
No. Transfer only moves the file. You still need to install the font on your Mac with Font Book.
Do I need Font Wizard Pro for one font?
No. AirDrop is fine for one file. Font Wizard Pro helps when you manage many fonts, need previews, use tags, build project sets, export ZIP files, or transfer fonts often.
Can I share fonts with clients?
Only if the font license allows it. Some licenses allow sharing. Some do not. Always check the license before you send a font file to another person.
Final answer
To transfer fonts from iPhone or iPad to Mac, move the OTF or TTF font file with AirDrop, iCloud Drive, ZIP export, or Wi-Fi transfer. Then install it on your Mac with Font Book.
For one font, AirDrop is the fastest method.
For a full font library or project set, use a ZIP export. If you manage fonts often, Font Wizard Pro on the App Store gives you a cleaner way to preview, organize, export, and transfer fonts from iPhone or iPad to Mac.
Sources
- Apple: Install and manage fonts on iPhone
- Apple: Install and manage fonts on iPad
- Apple: Install and validate fonts in Font Book on Mac
- Font Wizard Pro on the App Store
Use and trademark notes
Font Wizard Pro works with font files you import or download from sources you choose.
Only use fonts you have the right to copy, install, share, or use.
Compatibility can vary by font file, device, system version, app, and transfer setup.
iPhone, iPad, iPod touch, Mac, AirDrop, iCloud Drive, Font Book, and App Store are trademarks of Apple Inc., registered in the U.S. and other regions.
Related reading
- Font Wizard Pro Is Back: Take Your Font Library Everywhere
- How to Install Custom Fonts on iPhone and iPad
- World Cup Font Guide: How to Create Match-Day Posters, Watch Party Flyers, and Social Graphics Without Copying FIFA’s Brand
- AI Headshots, Product Photos, and Fake Images: The Future of Photography Is Here